The DIY Photographer
Build low-cost photography gear and control light on shoots
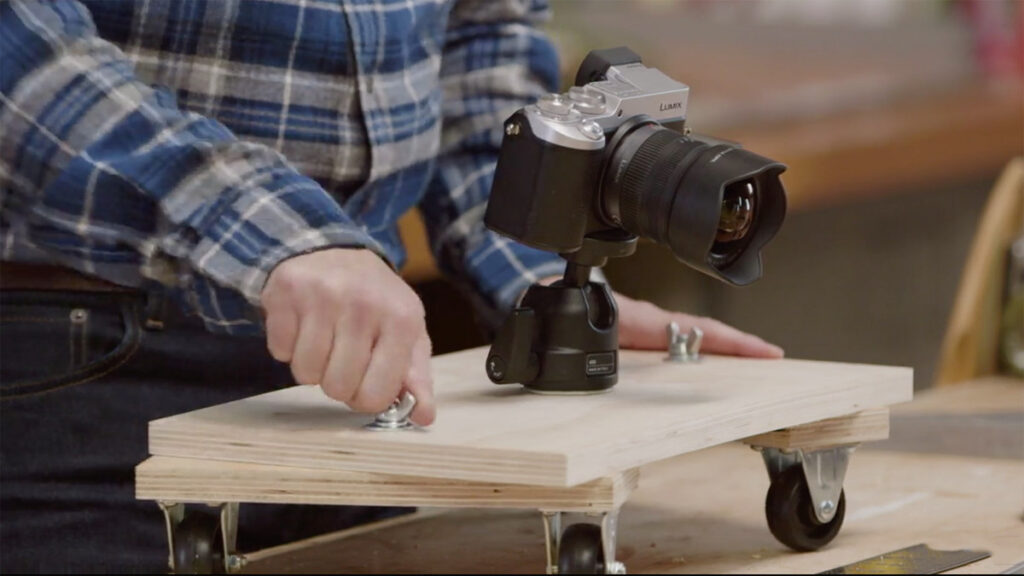
The DIY Photographer is a hands-on course that shows how to create low-cost, homemade photography accessories to shape light, stabilize the camera, and craft backdrops using everyday materials.
Through concise, project-style lessons you’ll learn practical DIY lighting diffusion, flash modifiers, softboxes, v‑flats, stabilizers, and simple motion rigs that translate directly to portrait and product shoots. Build and apply modest, effective accessories—like homemade diffusers, reflector panels, and cold‑shoe mounts—to gain better control over light and motion without expensive gear.
At a Glance
The DIY Photographer is a practical, project-focused course that teaches how to craft low-cost photography accessories and lighting tools from everyday materials.
Instructor Joseph Linaschke demonstrates hands-on techniques for improving lighting, stabilizing cameras, and creating backdrops using common household items.
| Level | Beginner |
| Rating | 4.7 out of 5 |
| Duration | 2+ hours |
| Languages | English |
| Certificate | Certificate of Completion |
| Access | Access for as long as your LinkedIn Learning subscription is active |
| Course includes |
|
| Price | Included with subscription; free trial available |
What This Course Teaches
The course frames outcomes as hands-on competencies you can replicate and measure, focusing on making and applying low-cost accessories to control light, backgrounds, and camera motion.
Learners complete concrete builds and implementations — for example, fabricating diffusers, assembling stabilizers, and constructing backdrops and softboxes — that can be used directly in shoots.
How the Course Is Structured
The course is organized into a short introduction followed by a focused practical section that groups many brief, project-style lessons together.
There are 26 individual lessons in the syllabus and the full runtime is approximately 2 hours and 39 minutes.
Curriculum overview
01 Introduction ▾
Series introduction presenting the instructor and the course goals for DIY photography accessories and setups.
02 1. DIY Techniques ▾
A sequence of short, hands-on lessons demonstrating how to build low-cost diffusers, mounts, backdrops, stabilizers, and motion rigs from everyday materials.
Audience & Requirements
This course is intended for beginner photographers and hobbyists, content creators who need low-cost lighting and backdrop solutions, small-studio freelancers, and photography students or educators seeking practical DIY techniques.
No special prerequisites are required; learners should have basic camera gear (camera, tripod, optional flash) and access to common household materials and small tools to complete the builds.
- Beginner photographers and hobbyists wanting affordable gear hacks.
- Content creators needing quick, portable lighting and backdrop solutions.
- Small-studio freelancers or event shooters seeking low-cost equipment alternatives.
- Photography students and educators looking for demonstrable DIY techniques to teach or apply.
- A camera you already use (DSLR, mirrorless, or compact).
- A tripod or other basic support; an external flash/speedlight is recommended for flash-diffuser lessons.
- Common household materials and small tools (plastic cups, parchment or Mylar, foil, binder clips, gaffer tape, clamps, scissors, painter pole, etc.).
- No advanced technical background — the course is beginner-friendly.
Final Verdict
The DIY Photographer is a practical, low‑risk course that teaches repeatable, hands‑on accessory builds and lighting fixes you can apply immediately. Given its positive reception, inclusion of a completion certificate, and availability through the platform subscription, the course offers strong value for a modest time investment.
Recommended for beginner photographers, hobbyists, content creators, and small‑studio operators who want affordable, ready‑to‑use gear hacks; not the best choice for learners seeking in‑depth lighting theory, extensive studio engineering, or formal accreditation beyond a short course certificate.

 Skillshare